Home
Landscape Galleries
New South Wales
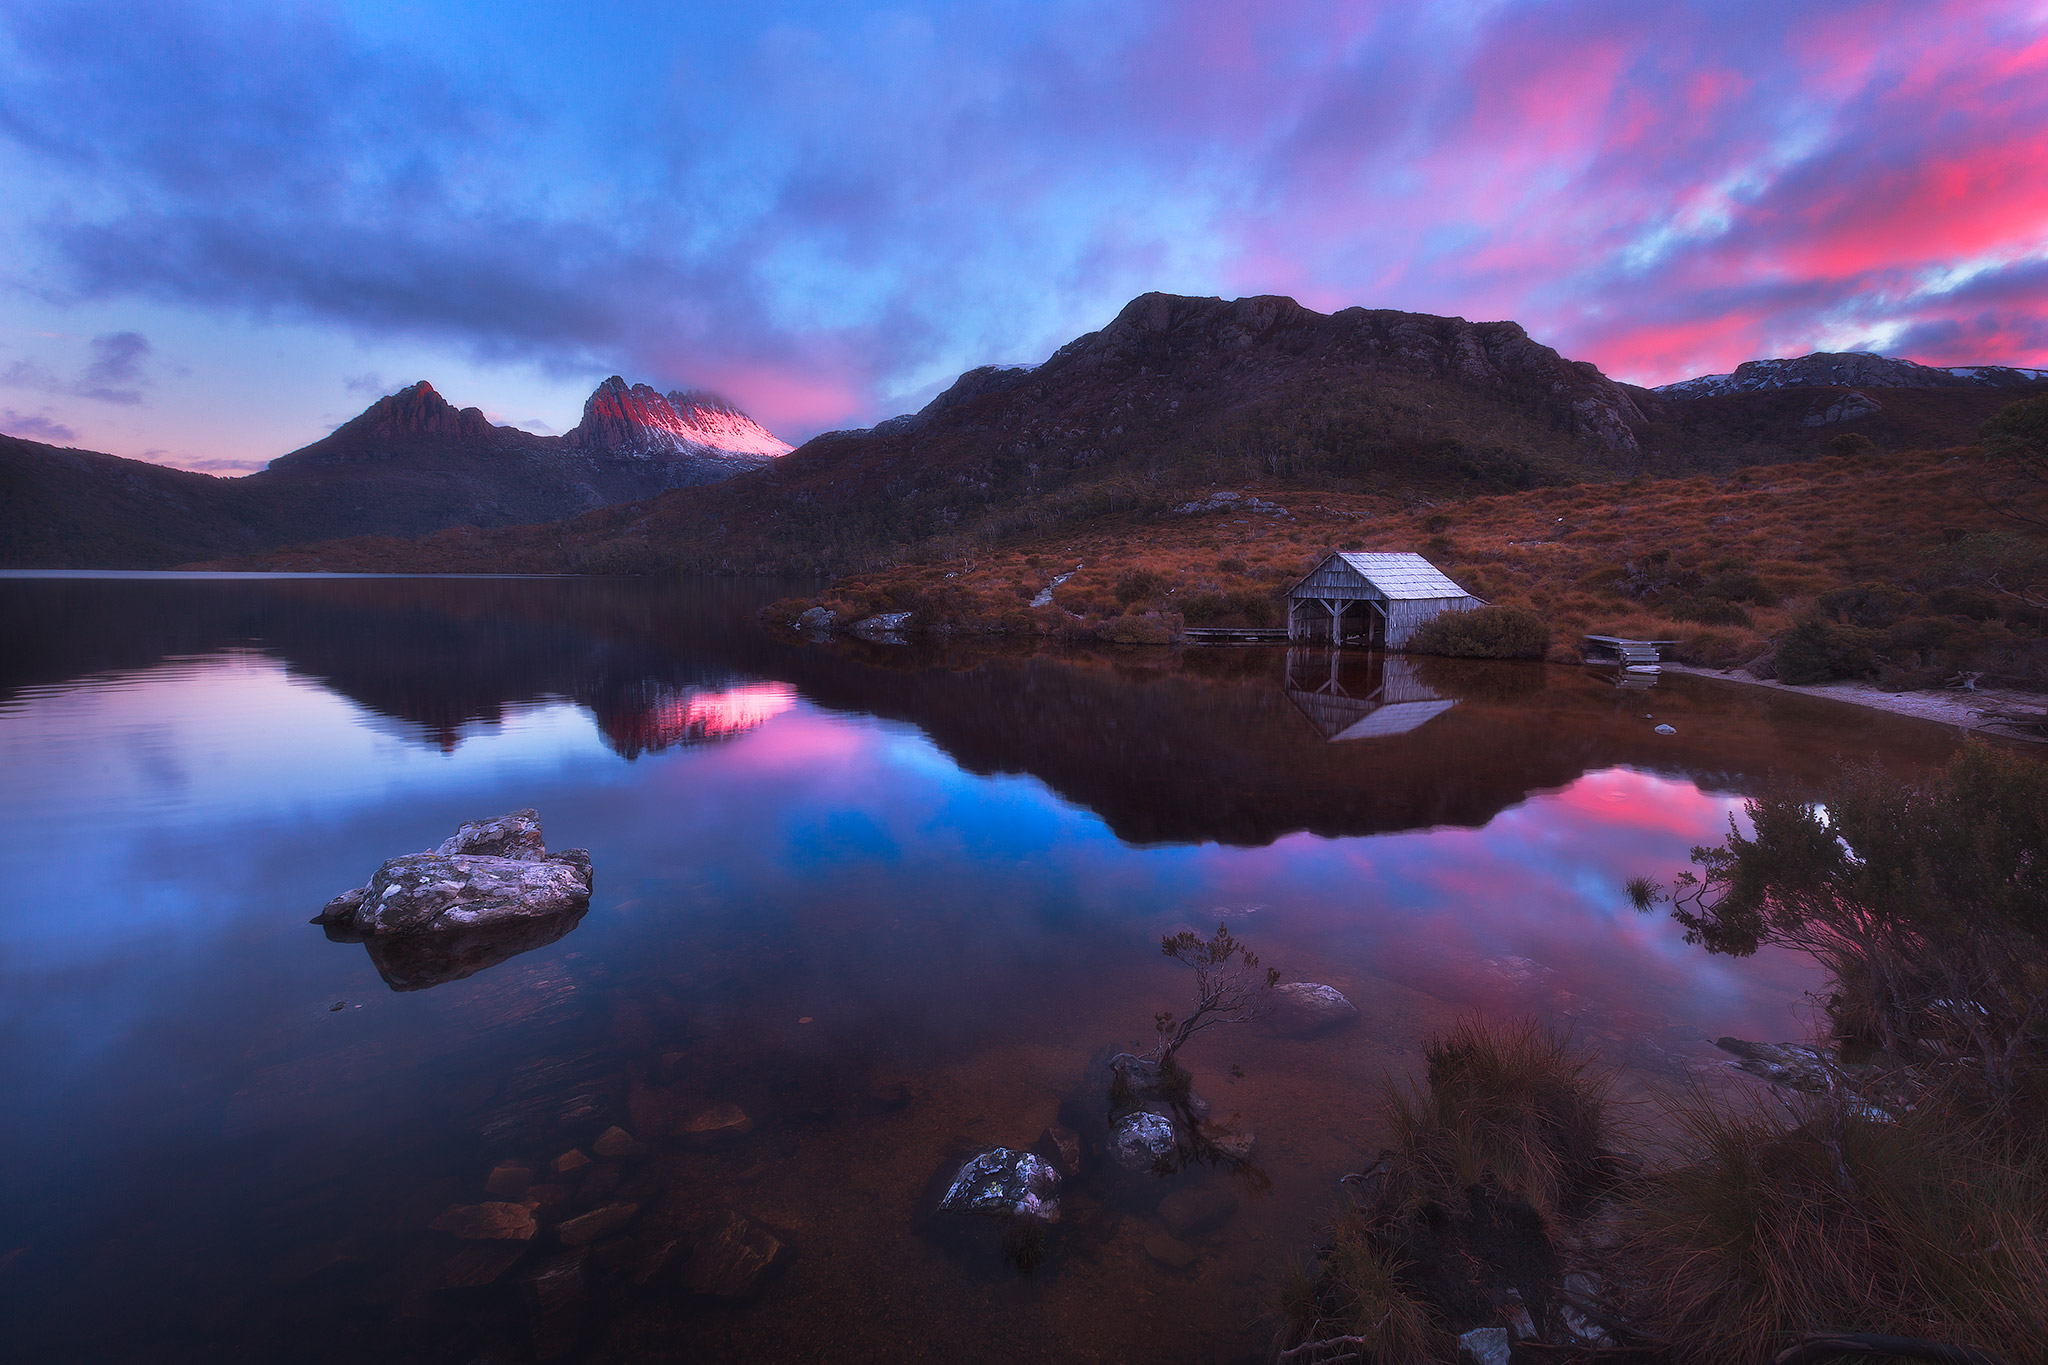
Tasmania
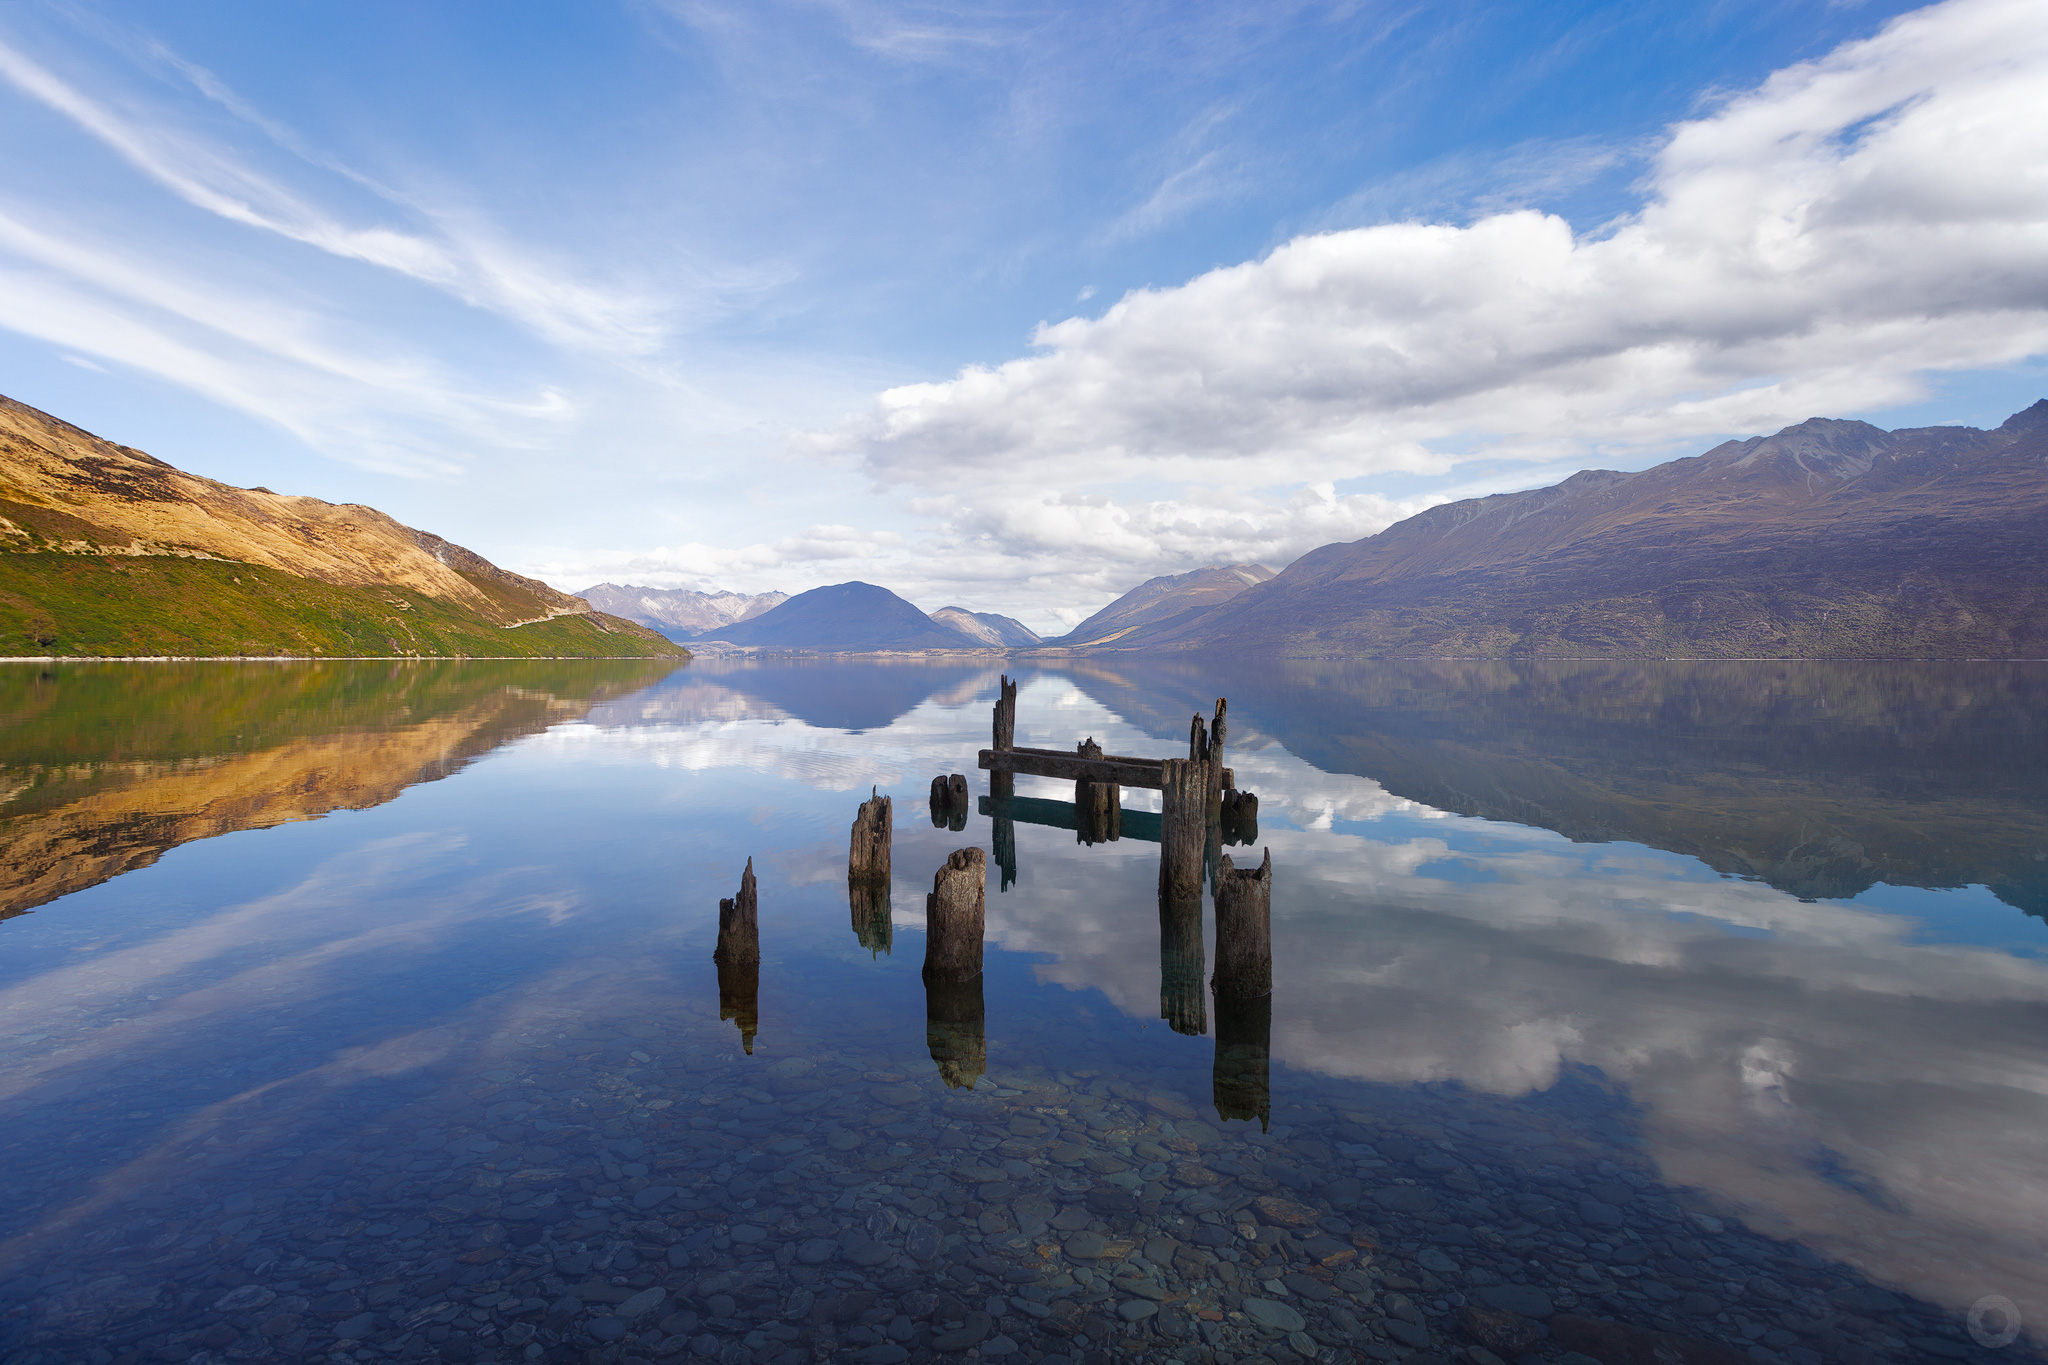
New Zealand
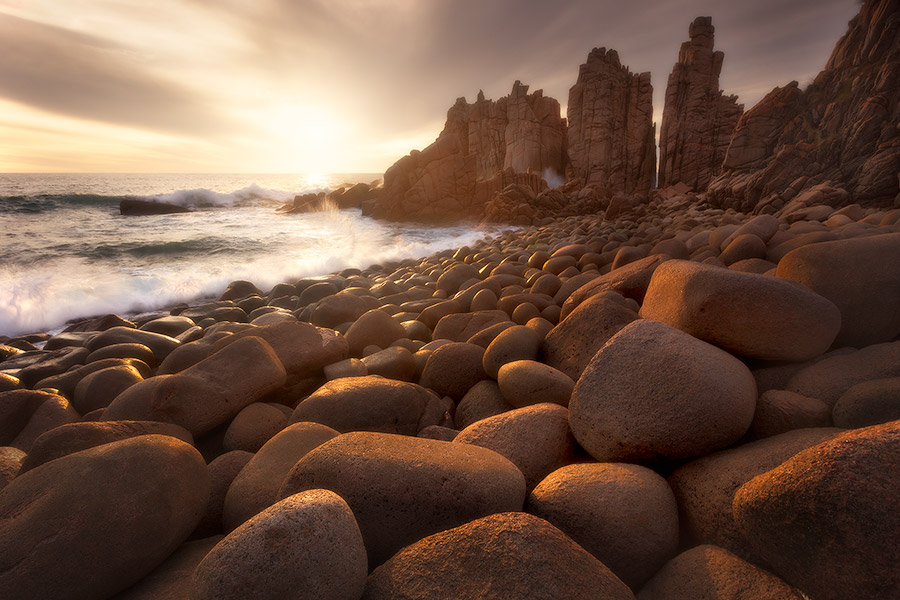
Victoria
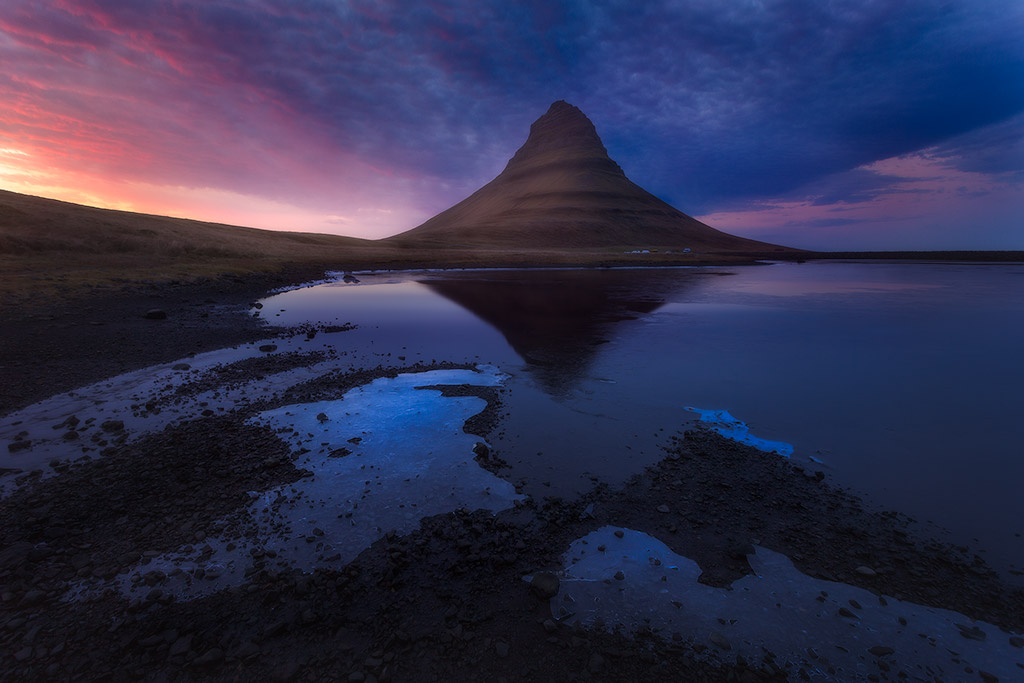
Iceland
Western Austraila
Blog
Contact
Purchase Photos
Select Page
×