by Steve A | May 17, 2018 | News
I started building out this site (stevearnoldphoto.com) in a bit more depth a couple of days ago and I realised something really interesting. That I can essentially create my own stock photo website. I’ve never actively sold photos on my own site this way...
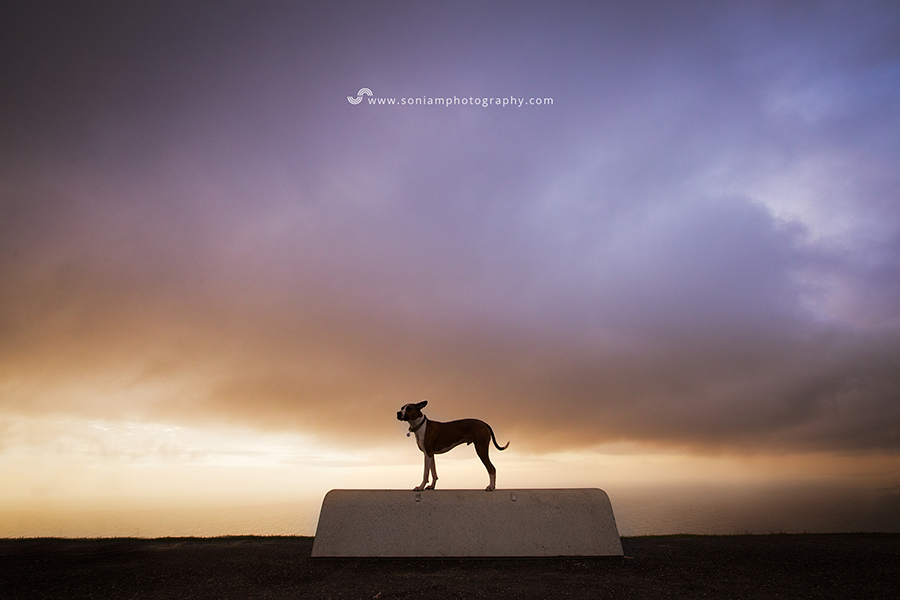
by Steve A | May 15, 2018 | News
Today is a special day – my dog Archer turns 3 years old! We don’t have kids, so Sonia and I have been known to go a little overboard treating Archer like one. Yesterday we tried baking him some pup-cakes (cup cakes for dogs lol). The cake part went ok,...
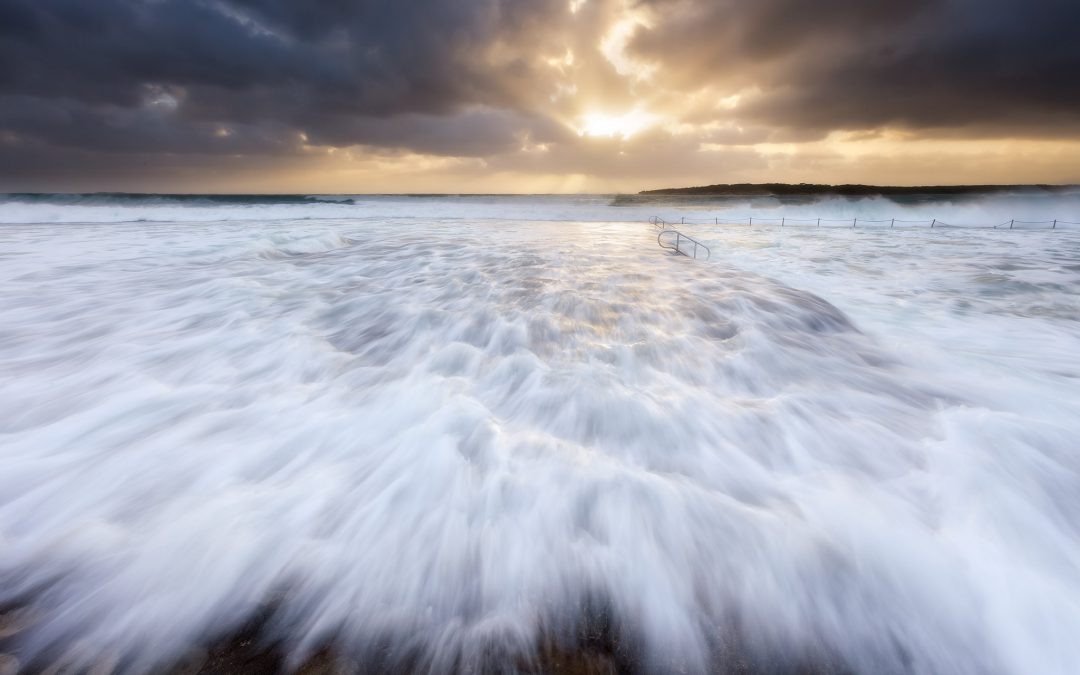
by Steve A | Apr 24, 2018 | Photo Blogs
Hello! Welcome to my first proper new blog post on my new-look website. I thought it would be nice to share a couple of photos I took recently at my local beach near Cronulla. I tend to go through phases of shooting a lot, then not shooting at all. I’ve decided...
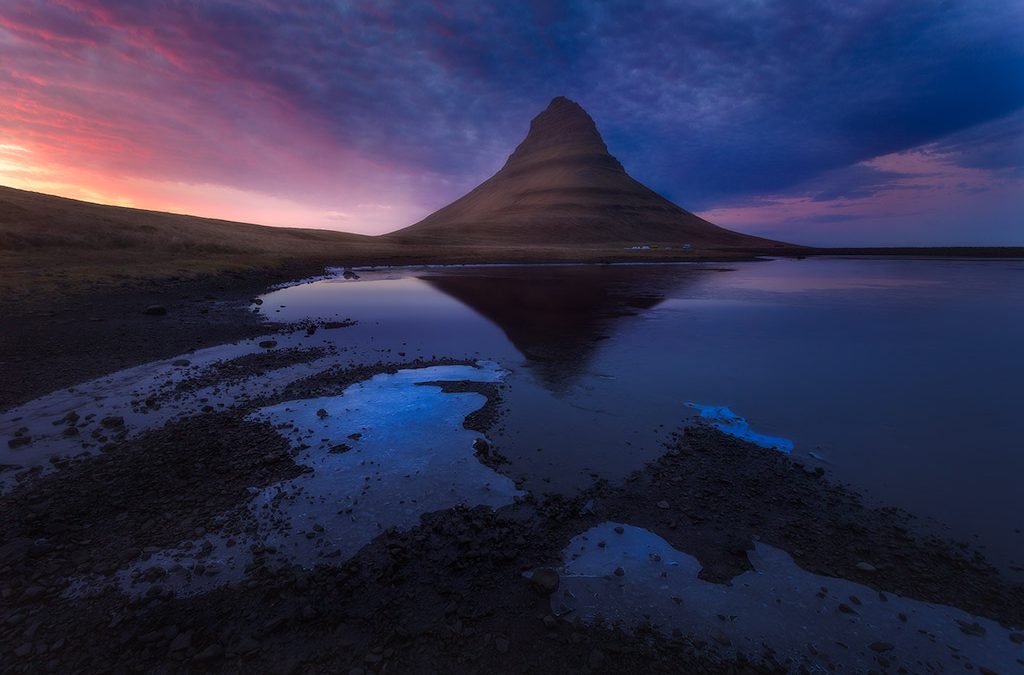
by Steve A | Apr 14, 2018 | News
Hey there! This is the first blog post on my newly-built website, so what better time to let you know a little bit about what’s going on and why I re-built it (from scratch!). Depending on when you’re reading this post, the website may still be “in...